|
Embarking on a journey to install new kitchen cabinets is an exciting step toward transforming the heart of your home. Whether you're upgrading your kitchen for functionality, aesthetics, or a combination of both, a well-executed cabinet installation can make a significant impact. In this comprehensive guide, we'll walk you through each step of the process, from planning to the finishing touches, ensuring a smooth and successful installation.
Content:
Congratulations! You've successfully installed new kitchen cabinets, bringing a fresh and stylish look to your culinary space. By following these step-by-step instructions and taking the time to plan and execute each phase with precision, you've not only enhanced the functionality of your kitchen but also added a touch of personal style. Enjoy your newly transformed space and the countless culinary adventures that await! For professional cabinet planning and installation, we serve the Midland, Texas area. Please call us for your free evaluation.
0 Comments
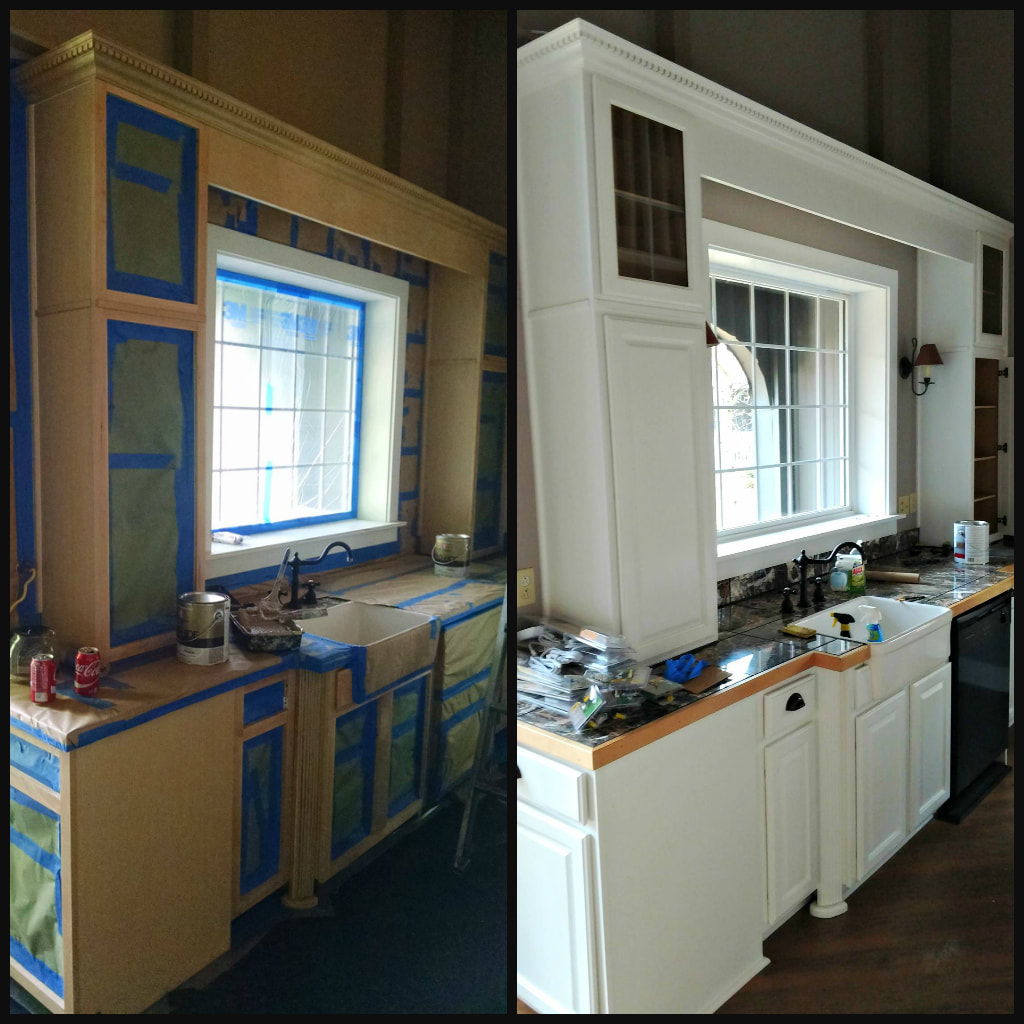 The kitchen is often considered the heart of the home, and updating its look can breathe new life into the entire space. One cost-effective and impactful way to refresh your kitchen is by painting the cabinets. This DIY project may seem daunting, but with the right materials, preparation, and a bit of patience, you can achieve professional-looking results. In this guide, we'll take you through the step-by-step process of painting kitchen cabinets to give your culinary haven a fresh and stylish makeover.
Materials You'll Need:
Painting kitchen cabinets can be a rewarding and cost-effective way to update your kitchen's look. With careful preparation, the right materials, and attention to detail, you can achieve a professional finish that will leave your kitchen looking fresh and stylish. Transform your culinary space with this DIY project and enjoy the beauty of a newly painted kitchen for years to come. For a free consultation in the Midland, Odessa Texas area, please reach out to us. If you’re trying to sell your house, you may be thinking of budget-friendly ways to update your home without breaking the bank. Upgrading your kitchen cabinets is an easy way to make your kitchen stand out without spending a lot of money. There are many ways to redesign your cabinets, from updating hardware to refinishing with a nice stain. All of which are creative ways to make your home more appealing to home buyers. To help you get started, we reached out to experts across North America, from Vancouver, BC to New York, NY, to give us their best tips on how to upgrade your kitchen cabinets. Keep reading to see what they had to share – there may be some ideas you haven’t thought of yet. 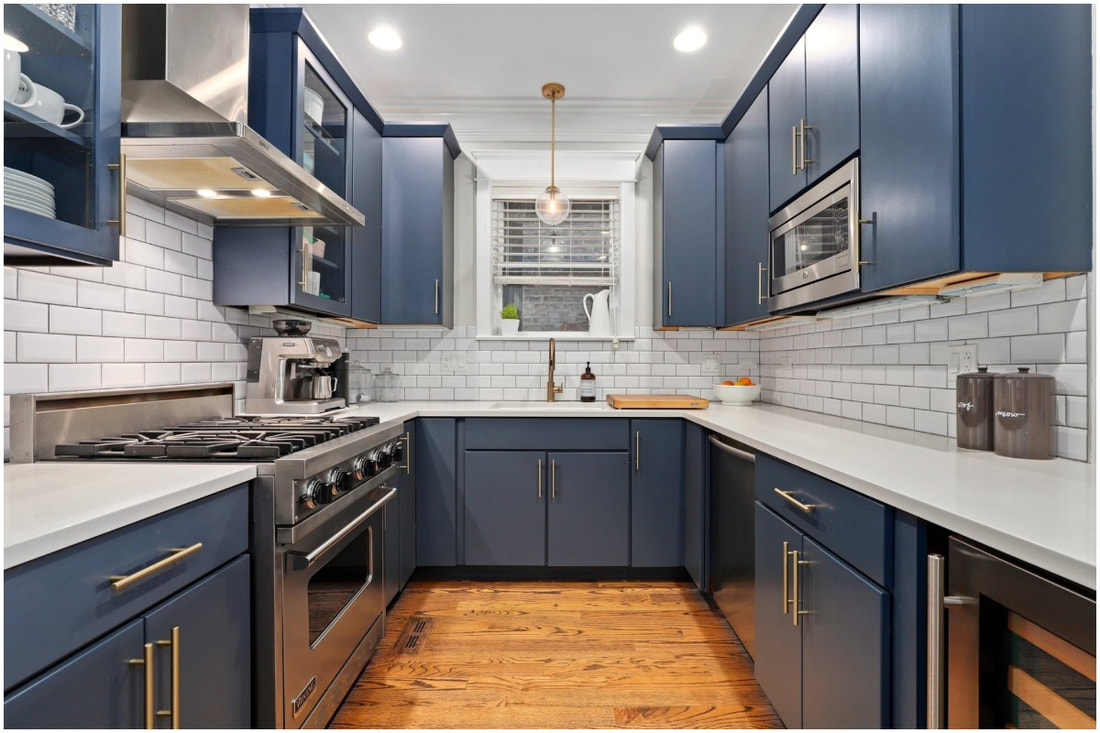 1. Switch out your cabinet hardware One of the easiest and most affordable updates you can make to your kitchen is updating the cabinet hardware. You can complete this project in just a few hours and change the entire look of the space. – Vancouver Home Inspections 2. Match your hardware to the drawer size Be sure to size the cabinet pulls to the drawer size. Go with wider pulls on larger drawers. Forego the standard metal colors, and instead choose brass or black for a fresher look that will instantly make your kitchen feel current. – Orsi Panos Interiors 3. Entertain higher tiers of cabinetry Visually, full custom cabinetry has tighter tolerances which provide a cleaner overall aesthetic. Their options for colors, finishes, sheens, artistry, moldings, and many other customizable features allow you to create a truly personalized and impactful space. – Kitchen NV 4. Go with a simple and airy look Say goodbye to your old heavy cabinets and add open shelving to lighten up the kitchen. If you too cherish the antique cabinets, add glass to the cabinet doors or remove a few doors entirely. – Linhan Design & Interior 5. Use a low sheen A careful color selection applied in a low sheen and some new handles will completely transform the space. Just be sure to hire a reputable local company that specializes exclusively in refinishing, as it does require mastery to ensure a long-lasting and quality finish. – Cabinet Painting Vancouver 6. Use gable ends on your cabinetry To upgrade your kitchen cabinets, consider requesting all visible end panels match the finish on your door fronts – these are called gable ends. Often millworkers will have a standard flat profile for end panels. The additional cost is worth the added visual interest it brings to the space. – Novell Design Build 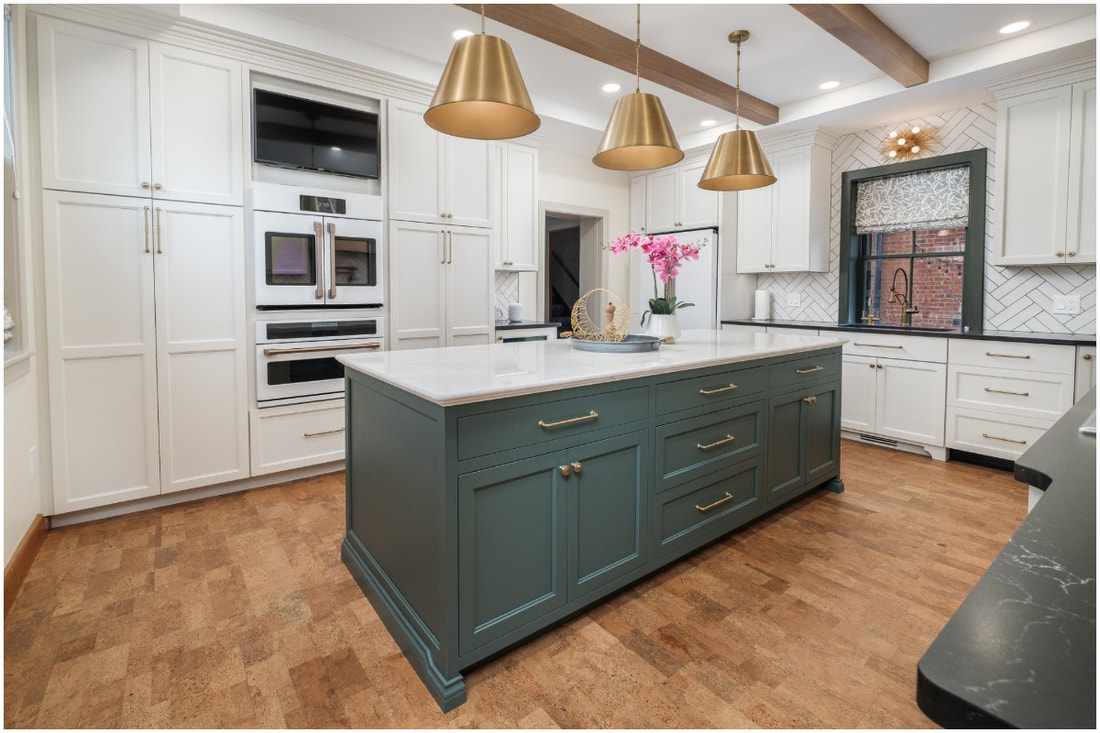 7. Sometimes a full replacement is the best way to go
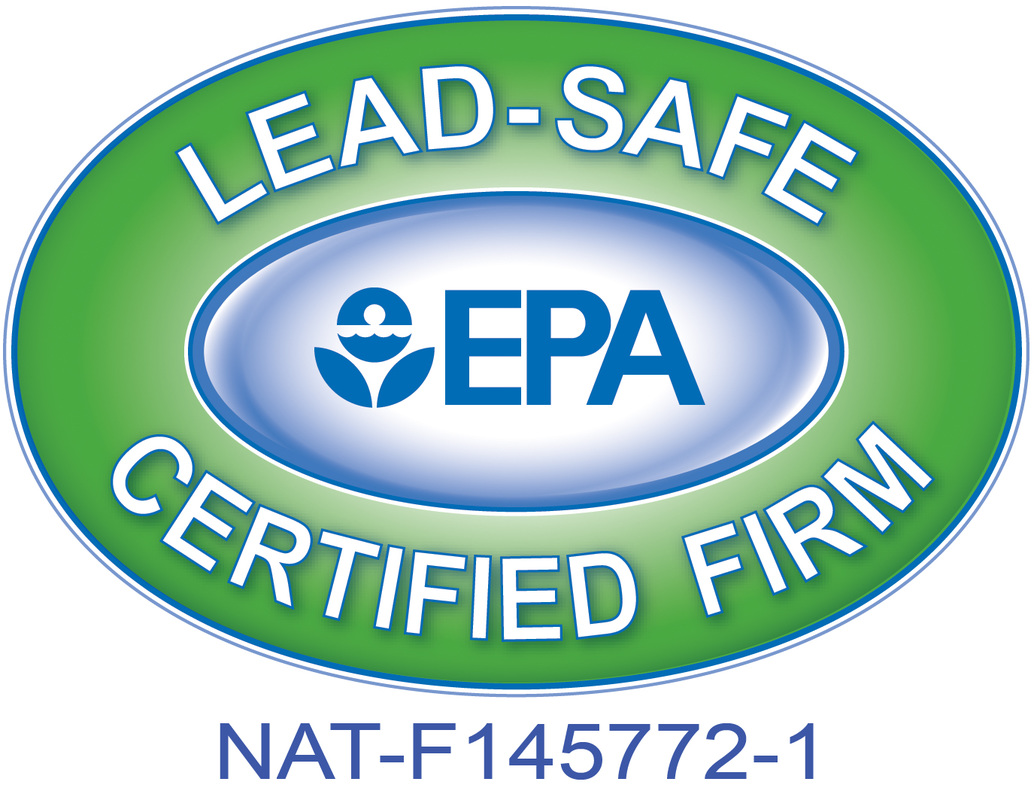
Painting the cabinets can go a long way to bringing a new, vibrant feel. However, for those who are interested in upgrading their kitchen cabinets and potentially increasing the value of their home, a complete cabinet replacement is often a good idea. While the price can range from $20,000 to $75,000 for this, the money can be recouped in the added home value. – Handyman Caravan 8. Go with the most-user friendly paint option If you want your paint job to look great but you don’t have a lot of experience available to draw from, it’s best to choose a user-friendly paint option. In this case, Sherwin Williams Emerald Urethane is a water-based alkyd that offers excellent leveling abilities so that no matter what approach you use, it should look close to professional. – Enderby Contractors 9. Contrast colors to upgrade your kitchen cabinets If your kitchen is that dated honey oak color, I would suggest investing in white/light countertops and a white/light backsplash. That will transform the look. Painting cabinets is always an option as well, but can be quite a bit of work if you have stained cabinets to begin with. – Elizabeth Yager Designs 10. Don’t rush straight into a gut renovation If your kitchen layout is satisfactory and the cabinets are structurally sound, refinishing them with the appropriate professional wood coating is often the right way to go. You can make them look new again and add another 10 to 15 years to their lifespan while saving money, stress, and the environment. – Muze Wall Design & Painting 11. Reuse what you have before purchasing new cabinets Because we don’t live in a world with infinite resources, it’s increasingly important to get creative with reuse. Whether it’s updating what you have with paint, toning or glazing your stained wood cabinets, updating your pulls and knobs, or visiting a local architectural salvage store to see what neat and unique finds are there, huge impacts and updates can be made that are also cost effective.- Nichole Lovett, Harmony Haus Originally published on Redfin.com 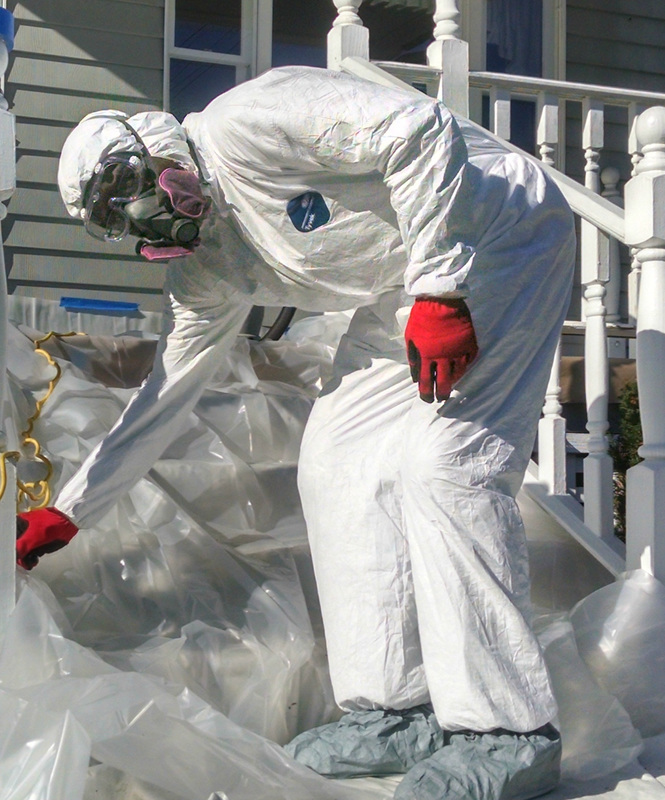 When it concerns lead, many homeowners that I have spoken with in Dover and New Philadelphia, Ohio are unaware of the dangers associated with it. For example, just this year, Reuters Canada noted that 28 children in Africa were killed from drinking out of a lead-contaminated water source, left there by the mining industry. Lead is dangerous and it is not to be taken lightly! There are many homes all over Tuscarawas County that have this dangerous neurotoxin on them. In fact, the EPA reported that 87% of homes built before 1940 and 69% of homes between 1940-1960 have lead paint on them. It can often be seen as peeling or flaking paint that falls to the ground, or as small as a dust particle which is then breathed into your body. Often kids will eat the paint chips because they have a sweetness to them. However, the most common way for a child to become contaminated is through dust. Lead dust is commonly found on windowsills in older homes. This is why it is so important that if you have an older home, you need to call a lead-certified company to come out and take a look. They can test it just to be certain there are no hazards present. Additionally, it doesn't just affect children. Adults, can get permanent brain damage. In fact, some of the symptoms of lead poisoning are: fatigue, irritability and nervousness. Overall, the key idea that I am trying to convey is that lead is very dangerous and before attempting to disrupt any lead surfaces on your home, please call a lead-certified company first. Your safety is important to us. Sources Payne, Julia. (2015, May 15). At Least 28 Children Killed by Lead Poisoning in Nigeria. Reuters Canada. Retrieved from http://ca.reuters.com/article/topNews/idCAKBN0O013I20150515 U.S. Environmental Protection Agency. (2010). The Lead-safe Certified Guide to Renovate Right. Washington, D.C.: Author. Vyas, Shayan. (2015, Feb 1). "Lead Poisoning." KidsHealth - the Web's Most Visited Site about Children's Health. The Nemours Foundation. Retrieved from http://kidshealth.org/parent/firstaid_safe/home/lead_poisoning.html# Enderby Contractors is proud to announce that we are a lead-safe certified company. If we can help in any way, please call us at: 330-323-1142 Serving Dover, Ohio and the surrounding areas.  This year we were fortunate enough to tack the big job of painting the Carriage House Museum located behind the Reeves Mansion in Dover, Ohio. It was a big job, but we tackled it nicely with the Lord's hand in it all the way.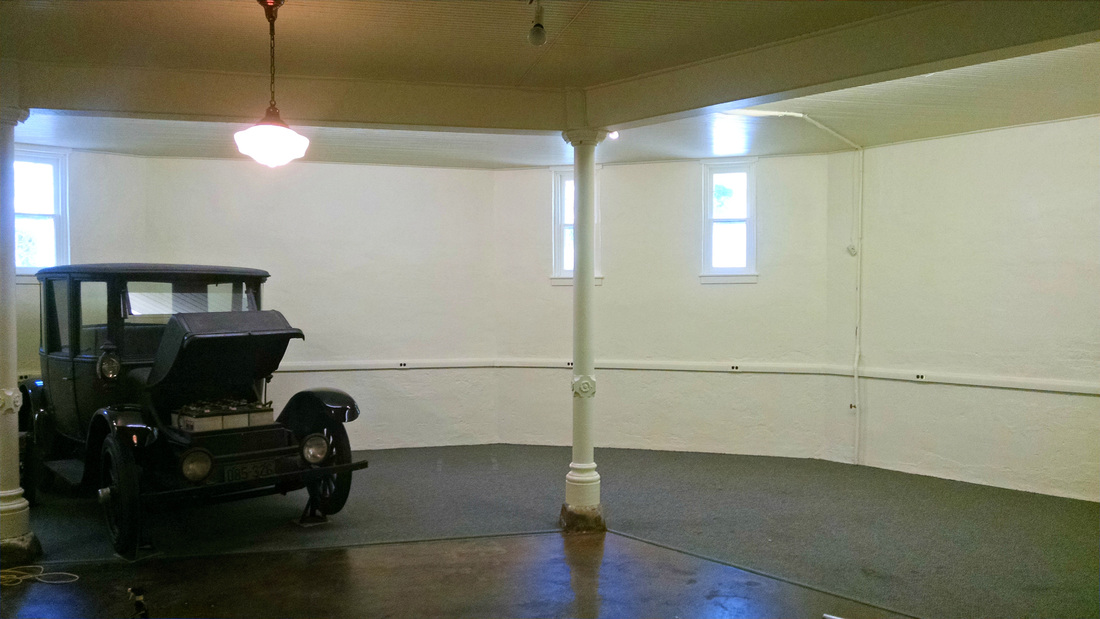 This is one of the car's featured in the museum. We were especially careful to cover it up as we meticulously worked on the ceilings. 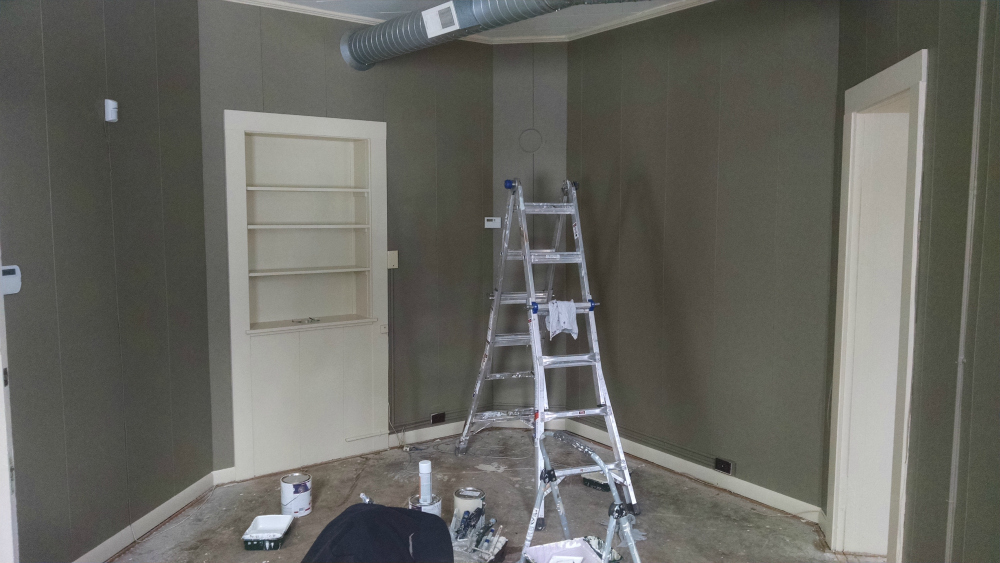 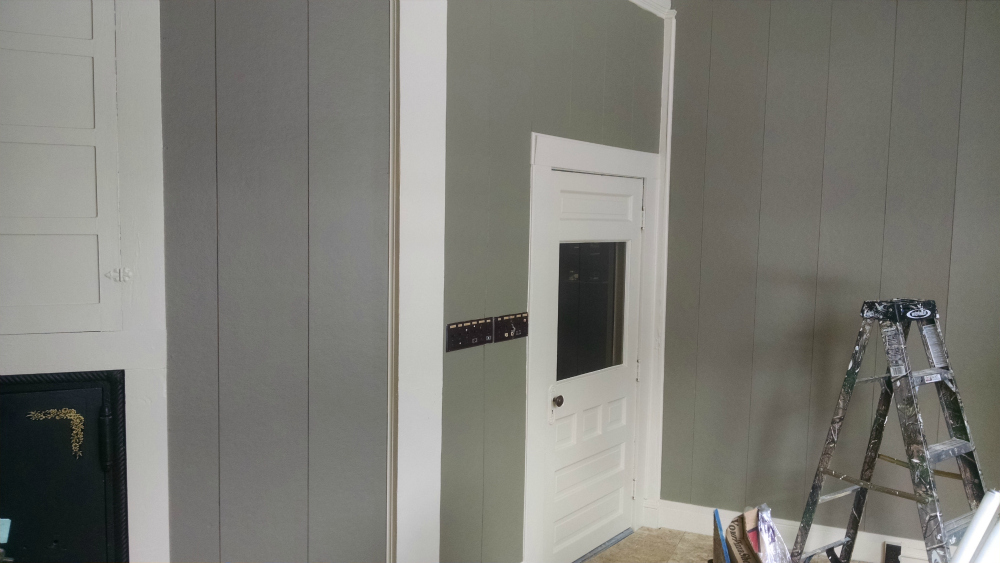 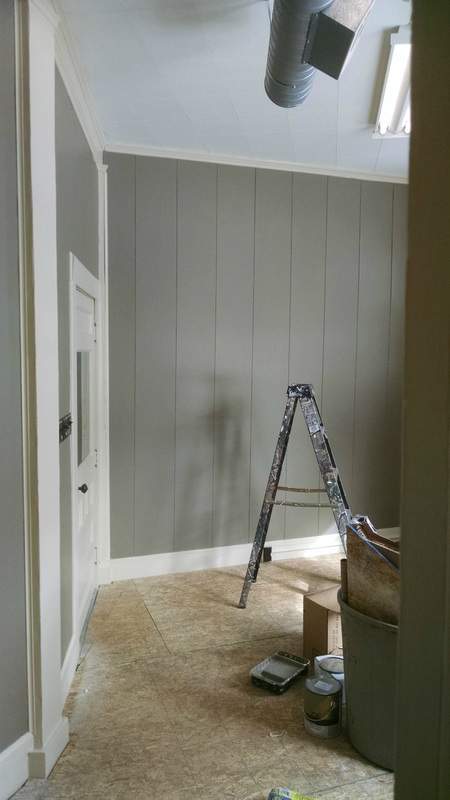  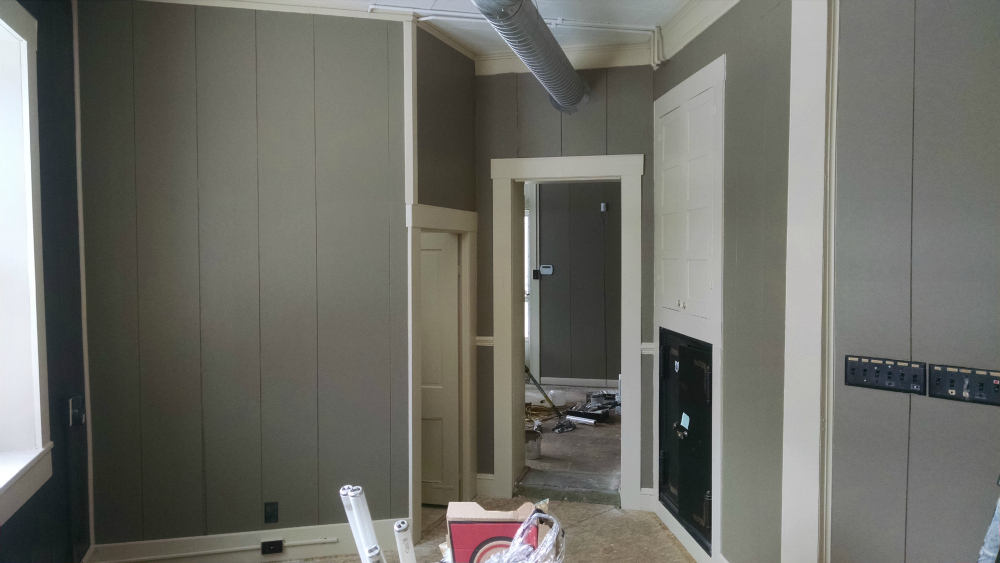 This five picture series was of the front office area. We especially liked featuring these because of the nice color scheme. 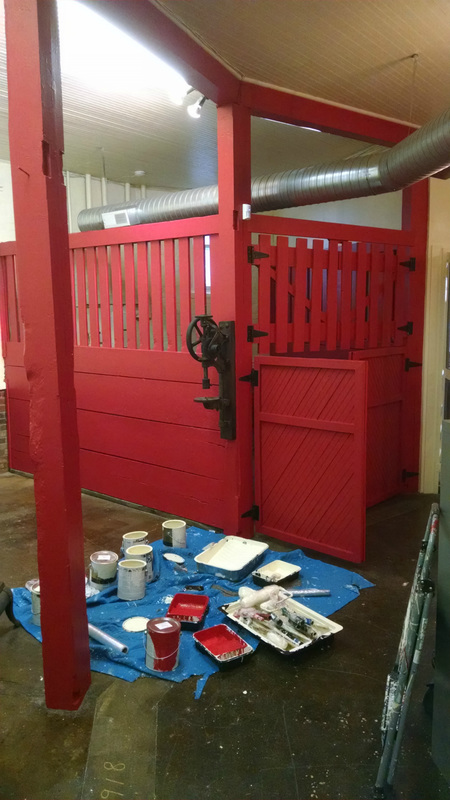 This is the old horse stall. It was originally a dark green color, but Tammy (the manager) picked out this red and hit it right on the money because it truly made it stick out and bring attention to what had been mostly hidden before. If you need painting for your house in the Midland Odessa area, please call us for a free estimate today. 432-653-2154 |
AuthorCory Enderby - Author Archives
November 2023

Categories |
 RSS Feed
Serving Midland and Odessa, Texas
ASK ABOUT OUR DISCOUNT FOR MILITARY and FIRST RESPONDERS
HoursM-Fri: 8am - 5pm
Sat: upon request |
TelephoneTexas: (432) 653-2154
(432) 250-9998 |
|
|

  |


|
|
|